
A few days ago, I went to my favorite local cafe called Sook. They have the best pastries and cakes in town. So glad I found this place. Not a lot of places makes the perfect earl grey chocolate mousse cake and they do. Enough reason to stop by often. There was(or maybe still is) a pastry cafe at one of the Hyatt hotels in Dubai that I used to go to all the time and they had the perfect earl grey chocolate mousse cake. Even in Europe, I haven't had that kind of perfection. Slightly crunchy middle, rich and smooth mousse with a hint of fragrant earl grey. Ever since I left Dubai, I have been on a search for that perfect bite but no luck, not even in NYC. Until I found this place.
They open at 6am everyday so my tot and I like going there for breakfast at like 7-730am. Crazy but whoever has a toddler knows breakfast can easily happen at 7am. Even at that early hour, this place is busy. Commuters picking up their coffee and pastry and people like me. Going for a peaceful and enjoyable breakfast when not a lot of people are around since I was dragged out of my bed by a 3yr old anyway.

The other day was a different story though. It was my mistake that I went in at 9:30 which is exactly when everyone's done dropping off their kids at school. There was one last table left in the sunny corner. Fine, I miss the sun. But no wonder that was the only table left! I probably came out with some good color on my face. Direct sunlight on me. Cafe full of loud people. ARGH! Get me out of here! I left as soon as I finished my coffee which is very unusual.

That was one of the crazy mornings I had this week. And I'm so glad it's almost weekend. Although, believe it or not, there's a chance of snow here on Saturday. Not excited about that.
Anyway, Steve recently said I haven't made peanut butter dessert lately. So I was on it. We always have brown rice cereal at home and decided to make some bars with them. And I found this perfectly quick and easy recipe which only calls for whatever I had in the pantry. I made a little portion without chocolate topping thinking I'd give it to my tot but of course I ended up eating it because he demanded chocolate one. If your child doesn't see the chocolate part, you're pretty safe. It's so good either way. I keep the bars in the fridge and take some out as needed rather than keeping them room temperature for a little extra crunch.
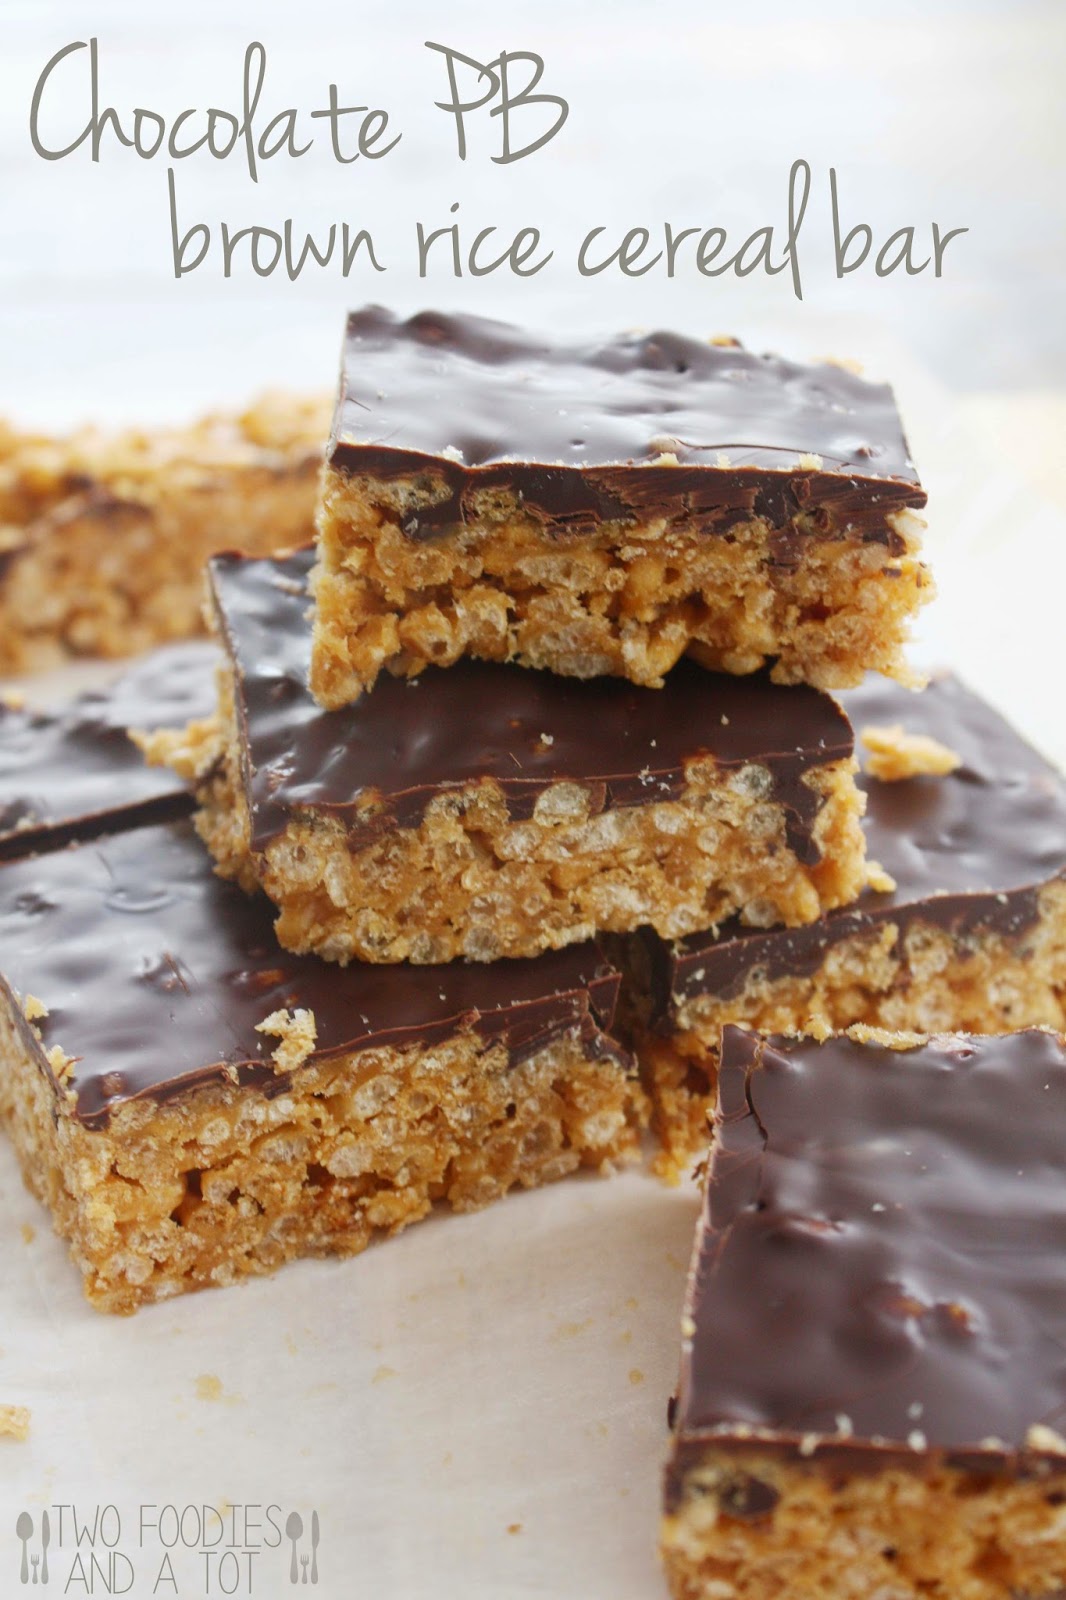
Chocolate peanut butter brown rice cereal bar
Ingredients :
1/3 cup peanut butter(or any nut butter)
1/4 cup brown rice syrup
1 Tbsp maple syrup
2 tsp vanilla extract
2 cups brown rice cereal(I use unsweetened wholefoods brand)
1/2 cup chocolate chips(dark or milk, depending on your preference)
Directions :
1. In a sauce pot, mix peanut butter, brown rice syrup and maple syrup and melt over low heat. Just when it starts to bubble turn off the heat. Add vanilla extract.
2. Add brown rice cereal and stir well so it's well mixed.
3. On a parchment paper lined pan, place the whole mixture and pat into desired shape. Let it cool for about 10 minutes.
4. Melt the chocolate and spread on top of the bar. Refrigerate for an hour or so and cut into bars. Enjoy!
*I find them tastier when kept in the fridge. You can keep them in an airtight container for about a week.
*Recipe from Texan Erin.


